
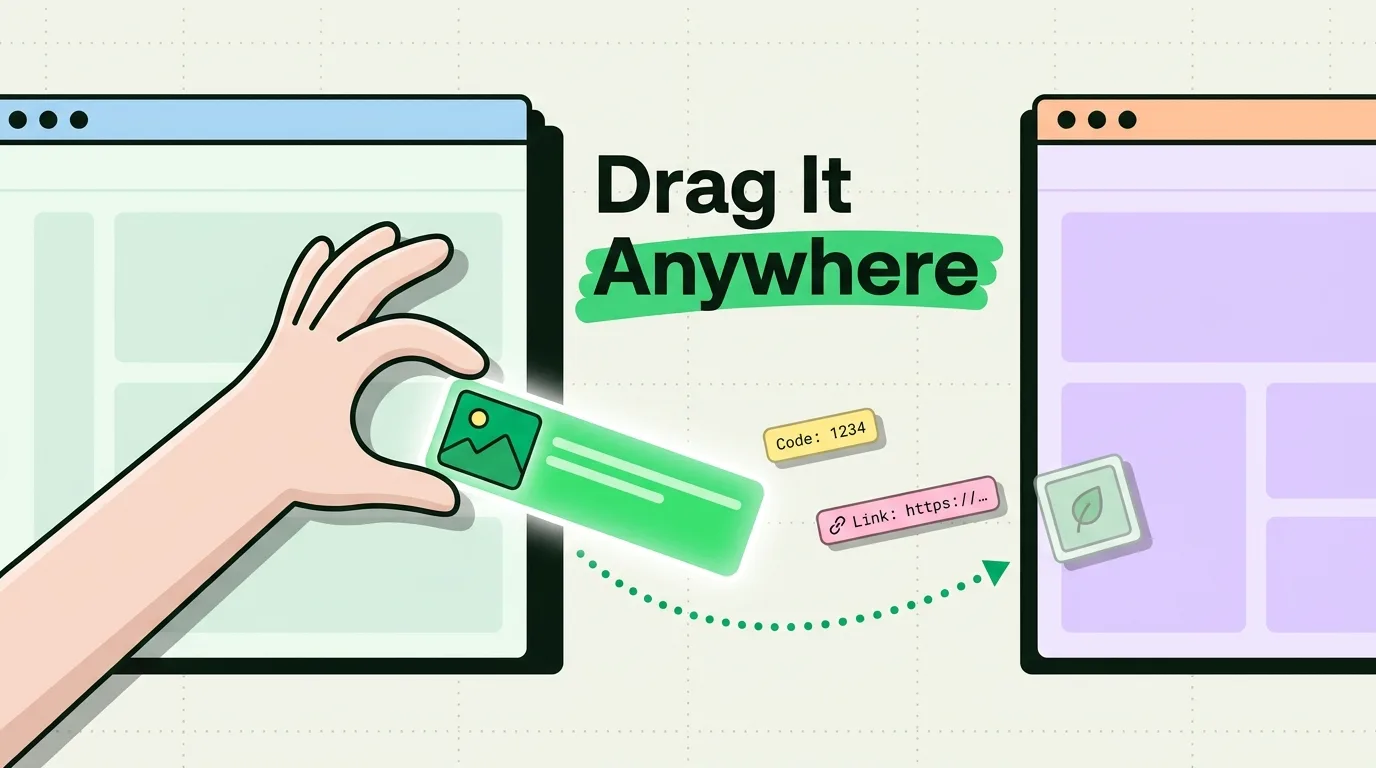
Drag and drop on iPhone is one of the most powerful yet underused features in iOS. Introduced for iPhone in iOS 15 and refined in subsequent updates, it lets you move text, photos, links, and files between apps using just your fingers - no copy and paste required. Yet most iPhone users have never tried it, or do not realize how many apps support it.
In this complete iOS drag and drop tutorial, we will cover everything from the basics to advanced multi-item selection. You will learn exactly how to drag and drop between apps on iPhone, which apps support it, and when you might be better off using a clipboard manager instead.
What Is Drag and Drop on iPhone?
Drag and drop is a gesture-based interaction that lets you pick up content in one location and move it to another. On iPhone, this means you can lift a photo from your Photos app and drop it directly into a Messages conversation, or grab a link from Safari and drop it into Notes - all without using the copy-paste menu.
The feature works within individual apps (rearranging items) and between different apps (transferring content). The between-app functionality is what makes it genuinely useful for productivity, as it eliminates the multi-step process of copy, switch app, paste.
How to Drag and Drop: The Basics
The fundamental drag and drop iPhone gesture is straightforward, but it does require a bit of two-handed coordination. Here is how it works step by step:
Dragging a Single Item
- Tap and hold the item you want to move - a photo, a block of text, a link, or a file. Hold it for about a second until you see it "lift" off the screen slightly.
- Keep holding the item with one finger. Do not let go.
- Use another finger to navigate to the destination. You can swipe up from the bottom to go home, tap another app icon, or use the app switcher.
- Navigate to the exact location where you want to drop the item within the destination app.
- Release your finger to drop the item. You will see a green "+" badge appear when the destination accepts the content.
The trickiest part is step 3 - using a second finger to navigate while your first finger holds the item. It takes practice, but once you get the hang of it, it becomes second nature.
Dragging Text
To drag text on iPhone, first select the text you want to move by tapping and holding, then adjusting the selection handles. Once the text is selected, tap and hold the selected text until it lifts. Then use your other finger to navigate to the destination app and release to drop the text.
This is particularly useful for moving quotes, paragraphs, or snippets between documents, notes, and messages without going through the copy-paste menu.
Dragging Links
In Safari, you can drag a link by tapping and holding it until the preview appears, then continuing to hold as it lifts. Drag it to another app - like Notes, Messages, or Mail - to share the link instantly. You can also drag the URL from the Safari address bar directly.
Multi-Item Selection: Dragging Multiple Items
One of the most powerful features of drag and drop on iPhone is multi-item selection. This lets you pick up several items at once and move them all together - a huge time-saver when working with photos, files, or links.
How to Select Multiple Items
- Tap and hold the first item until it lifts.
- Keep holding it with one finger.
- Tap additional items with another finger. Each new item will stack onto the first, and a numbered badge will appear showing how many items you are holding (e.g., "3" for three items).
- Navigate to the destination using a free finger.
- Drop all items by releasing your holding finger.
This is incredibly useful in the Photos app. Instead of sharing photos one at a time, you can pick up five, ten, or even twenty photos and drop them all into a Messages conversation or an email draft at once.
Apps That Support Drag and Drop on iPhone
Most built-in Apple apps fully support drag and drop. Here is a comprehensive breakdown of what works and what you can drag:
| App | Drag From | Drop Into | Content Types |
|---|---|---|---|
| Photos | Yes | Yes | Images, videos |
| Safari | Yes | Yes | Links, images, text |
| Notes | Yes | Yes | Text, images, links, files |
| Messages | Limited | Yes | Images, links, text |
| Limited | Yes | Text, images, attachments | |
| Files | Yes | Yes | Any file type |
| Maps | Yes | Limited | Location pins, addresses |
| Reminders | Yes | Yes | Reminder items, links |
| Pages/Numbers/Keynote | Yes | Yes | Text, images, shapes |
Many third-party apps also support drag and drop, including Google Docs, Microsoft Word, Notion, Bear, Spark Mail, and various file managers. If you are unsure whether an app supports it, try dragging content into it - the worst that can happen is the item snaps back to its original position.
Common Drag and Drop Workflows
Now that you know the mechanics, here are the most practical iPhone drag and drop between apps workflows that can save you real time every day.
Photos to Messages
This is the most popular drag and drop use case. Open Photos, tap and hold a photo, then use your other hand to swipe up and open Messages. Navigate to the conversation you want, and drop the photo into the text field. You can even multi-select several photos and drop them all at once.
Safari Links to Notes
When you are researching a topic in Safari, drag links directly into a note. Tap and hold a link on a webpage, lift it, switch to Notes with your other finger, and drop the link into your note. The link will appear with a rich preview, making your notes more useful than a plain-text URL.
Text Between Documents
Select a paragraph in one app (like a PDF viewer or a webpage in Safari), lift the selected text, and drop it into Notes, Pages, or a Mail draft. This skips the copy-paste menu entirely and is especially useful for research and note-taking workflows.
Files to Mail
Open the Files app, find the document you want to attach, drag it, and drop it into a Mail draft. This is faster than using the attachment button and navigating the file picker. You can drag multiple files at once to attach several documents to a single email.
Map Locations to Messages
In Apple Maps, tap and hold a location pin, then drag it to Messages to share it. The recipient gets a rich map preview they can tap to open directions. This is faster than using the Share Sheet for quick location sharing.
Drag and Drop vs. Copy and Paste: When to Use Which
Drag and drop and copy-paste are complementary tools, not competitors. Each has strengths depending on the situation:
| Scenario | Best Method | Why |
|---|---|---|
| Moving one item between visible apps | Drag and Drop | Faster, skips clipboard |
| Moving multiple photos at once | Drag and Drop | Multi-select saves time |
| Saving content for later use | Copy + Clipboard Manager | Clipboard history persists |
| Pasting same item into multiple apps | Copy + Paste | Copy once, paste many times |
| Working one-handed | Copy + Paste | Drag and drop needs two hands |
| Building a collection of clips | Copy + Clipboard Manager | History, search, and categorization |
The key distinction is that drag and drop is an immediate transfer - the content goes from point A to point B and is gone. Copy and paste (especially with a clipboard manager) is a stored transfer - the content is saved and can be reused. For building a library of frequently used snippets, links, and references, a clipboard manager like Clipboard AI is the superior tool. For quick, one-time transfers between two visible apps, drag and drop shines.
Combining Drag and Drop with Clipboard Management
The most productive iPhone users combine both techniques. Here is how they work together:
- Use drag and drop for immediate, one-time transfers between apps you have open.
- Use copy and paste with Clipboard AI for content you want to save, search, or reuse later.
- Use the clipboard keyboard extension for rapid pasting of saved clips without switching apps.
- Use multi-item copy through a clipboard manager when you need to collect multiple items before pasting.
For example, when researching a topic online, you might drag a photo directly from Safari into Notes for your current project, while copying text snippets and URLs with the clipboard so they are saved in your history for future reference. Both actions serve different purposes, and knowing when to use each makes you significantly more efficient.
iPhone vs. iPad: Drag and Drop Differences
Drag and drop on iPad is more intuitive than on iPhone because of iPad multitasking features. Understanding the differences helps you use each device effectively.
iPad Advantages
- Split View: On iPad, you can have two apps open side by side, making drag and drop between them effortless. Just drag from one app to the other - no app switching required.
- Slide Over: Drag an item, then slide in a secondary app from the right edge and drop the item directly into it.
- Larger screen: More room to maneuver makes the gesture less fiddly.
- Dock access: On iPad, you can drag items to apps in the Dock to open them and drop content in one motion.
For more on making the most of iPad clipboard features, see our guide on clipboard management and iPad multitasking.
iPhone Considerations
- No Split View: iPhone does not support side-by-side apps, so you must hold the item and navigate with a second finger.
- Smaller screen: The gesture requires more precision on the smaller display.
- Two-hand operation: Practical drag and drop between apps on iPhone almost always requires both hands.
Despite these limitations, drag and drop on iPhone is still a valuable productivity tool once you master the two-finger technique. For situations where it is not practical, the copy-paste workflow with a clipboard manager remains the most versatile option.
Troubleshooting Drag and Drop Issues
If drag and drop is not working as expected, here are common issues and solutions:
Item Snaps Back to Original Position
This usually means the destination app or location does not accept the type of content you are dragging. Try a different destination or use copy and paste instead.
Cannot Lift the Item
Make sure you are tapping and holding long enough - about one full second. If a context menu appears instead of lifting the item, dismiss the menu and try again with a slightly longer hold before you start moving your finger.
Difficulty Switching Apps While Dragging
This is the most common challenge. Practice using your thumb to hold the item while your other hand swipes up from the bottom of the screen. Alternatively, hold the item near the bottom of the screen and use another finger on the same hand to swipe up slightly for the home gesture.
App Does Not Support Drag and Drop
Not all third-party apps have implemented drag and drop support. If an app does not accept dropped content, fall back to the traditional copy-paste method. A clipboard manager makes this seamless since your content is already in your clipboard history.
Advanced Drag and Drop Tips
Once you are comfortable with the basics, these advanced techniques will take your iPhone drag and drop skills further:
- Spring-loaded folders: When dragging in the Files app, hover over a folder for a moment and it will open automatically, letting you drop the item inside a nested folder.
- Drag to the Home Screen: You can drag links from Safari to your Home Screen to create quick shortcuts (this creates a bookmark on the Home Screen).
- Rearrange apps while dragging: Drag an item from one app, hover over a Home Screen app icon, and that app will open - letting you drop the item into it.
- Drag from Spotlight Search: Pull down for Spotlight, then drag search results (contacts, files, photos) directly into other apps.
- Use with Shortcuts: Some Shortcuts workflows can be triggered by dragging content onto the Shortcuts widget.
Frequently Asked Questions
Does drag and drop work between apps on iPhone?
Yes, starting with iOS 15 and improved in iOS 16 and later, you can drag and drop content between apps on iPhone. Tap and hold an item to lift it, then use another finger to swipe home or switch apps while continuing to hold the item. Drop it into the destination app. This works with text, photos, links, files, and more.
How do I select multiple items for drag and drop on iPhone?
Start by tapping and holding one item until it lifts. While still holding it, use another finger to tap additional items - they will stack onto the first item with a badge showing the count. Once you have selected all items, drag the entire stack to the destination app or location.
Which iPhone apps support drag and drop?
Most built-in Apple apps support drag and drop, including Photos, Safari, Notes, Messages, Mail, Files, Maps, and Reminders. Many third-party apps also support it, including document editors, design tools, and file managers. If an app does not support drag and drop, you can use copy and paste as a fallback.
What is the difference between drag and drop on iPhone vs iPad?
On iPad, drag and drop works with Split View and Slide Over, making it easier to drag items between two visible apps side by side. On iPhone, you need to use one finger to hold the item and another to navigate between apps. The core functionality is the same, but iPad offers a more seamless experience due to its multitasking features.
Is drag and drop faster than copy and paste on iPhone?
For single items between visible apps, drag and drop can be faster since it skips the clipboard entirely. However, for multiple items or when you need to save content for later use, a clipboard manager like Clipboard AI is more efficient because it stores everything you copy in a searchable history. Drag and drop is best for immediate transfers, while clipboard management is better for ongoing productivity.
App CTA Share Tags Author